

Photo by José Martín Ramírez Carrasco on Unsplash
Next.JS File-Based Routing All You Need To Know Part-2.


Overview.
Hello, and welcome to part 2 of this article where we will discuss the remaining topics from File-based routing with Next.JS.
If you have missed the Part-1, I would highly recommend going through it before moving forward in part-2.
Catch-All Routes.
This is another cool feature provided by Next, to understand this section assume a scenario where you want to build a blogging site. Where there are several categories for each subject and each category has several blog posts. Like category-1 has 5 blog posts so its corresponding routes will be somewhat like localhost:3000/blog/category1/post1, localhost:3000/blog/category1/post2, and so on…
category-2 has another 5 blog posts its routes can be localhost:3000/blog/category2/post1, localhost:3000/blog/category2/post2 so on...
And so do the category-3 have 5 blog posts and routes can be localhost:3000/blog/category3/post1, localhost:3000/blog/category3/post2, and so on….
Now assume we have 10 categories and each category has 10 blog posts.
- 10 Category x 10 Posts = 100 Routes.
But how about we replace 10 Posts routes with a single dynamic route,
- 10 Categories x 1 [postId] = 10 Routes. which is still more.
Still, we can reduce the routes by creating the dynamic category route.
- 1 [categoryId] x 1 [postId] = 1 Route.
Here we are reduced to one parent folder and one nested file. But can we not have a single file that can catch all the nested routes.
Well, yes we can. The below code shows a special file convention provided by Next to achieve such catch-all routes.
// pages/blog/[...params].js

function Blog(){
    return <h1>Blog Home Page</h1>
 }
export default Blog;
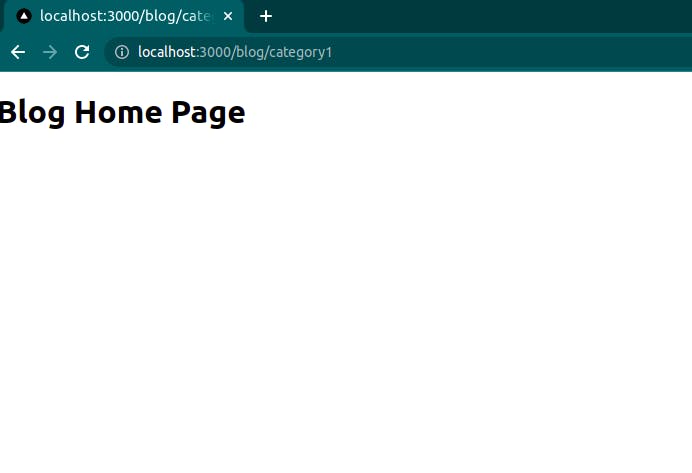
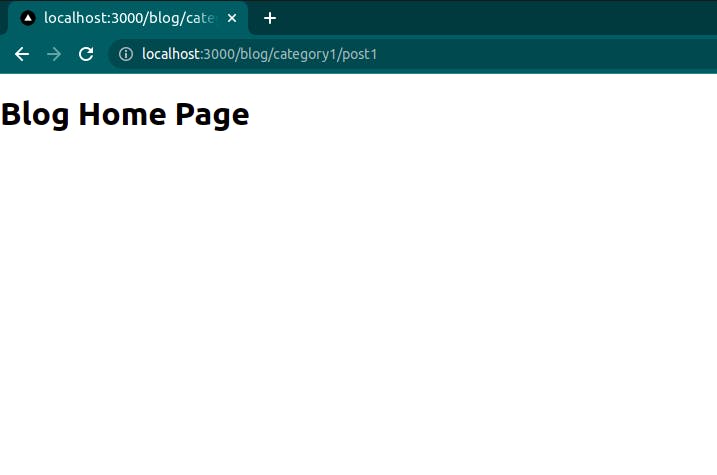
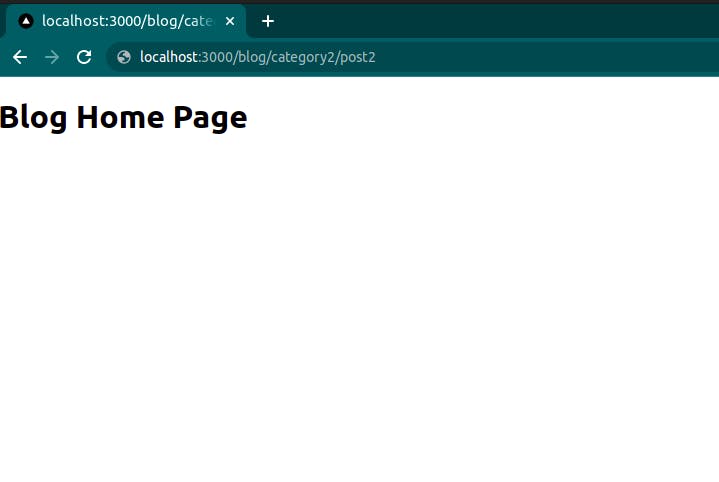
The file convention decided by the Next team is [...fileName].js This code in such a particular file will catch any URL that will contain, /blog segment in the URL path.
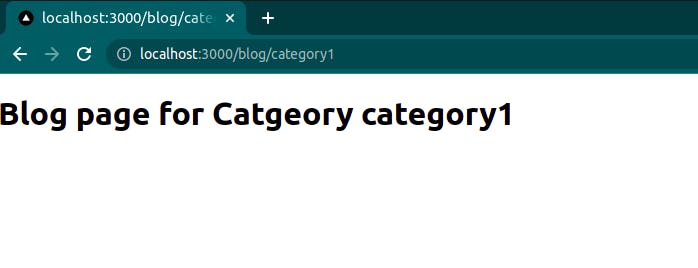
To understand it more clearly let's have a look at the code output.
Now, this is not likely to be much use if you cannot capture different URL segments. So how do we get hold of different URL segments, we make use of useRouter Hook.
import { useRouter } from "next/router";

function Blog() {
  const router = useRouter();
  const { params = [] } = router.query;
  console.log(params);

  return <h1>Blog Home Page</h1>;
}

export default Blog;

Hence, in dynamic routes, we saw that it holds the dynamic URL segment as a string. But here the params hold all the segments as an array.
import { useRouter } from "next/router";
function Blog() {
const router = useRouter();
const { params = [] } = router.query;
console.log(params);
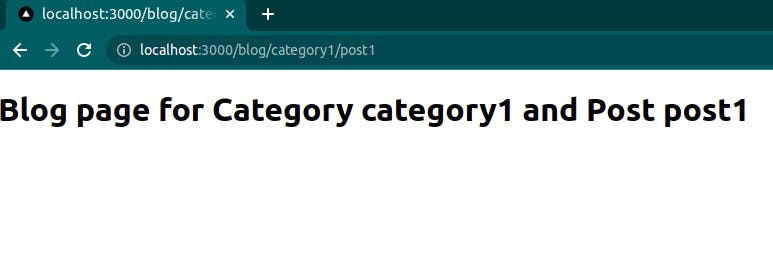
if (params.length === 2) {
return (
<h1>
Blog page for Category {params[0]} and Post {params[1]}
</h1>
);
} else if (params.length === 1) {
return <h1>Blog page for Catgeory {params[0]} </h1>;
}
return <h1>Blog Home Page</h1>;
}
export default Blog;
Navigate from the UI.
In this section, we will see how we can navigate to different routes by interacting with UI, and not just entering URL segments as we did in previous sections. Because that is not how a user will navigate to different pages.
For making a UI component work like the link for navigating, Next comes up with a predefined component called Link. When we wrap any of our components inside the Next's Link component. This will help us in navigating different routes.
// pages/index.js

import Link from "next/link";

function Home() {
  return (
    <div>
      <h1>Home Page</h1>
      <Link href="/blog">
        <a>Navigate to Blog</a>
      </Link>
    </div>
  );
}

export default Home;
Now when you visit the home page and click on Navigate to Blog, it will redirect to, /blog route. This means any valid route added to the href property to the Link tag will redirect to that particular route.
Now, to append a dynamic route to the href, we can use the string interpolation or string literals. Suppose we had the dynamic value coming as id prop, but right now it's not so let us just give a hardcore value to it let's us say 1. Now with the backticks, we can pass the id prop inside dollar curly braces and make the link dynamic.
// pages/index.js

import Link from "next/link";

function Home({ id="1" }) {
  return (
    <div>
      <h1>Home Page</h1>
      <Link href=`/blog/${id}`>
        <a>Navigate to Blog</a>
      </Link>
    </div>
  );
}

export default Home;
Now two props essential to wrap this section are passHref and replace the prop.
replace
When you add, replace the prop to the Link component as shown in the below code example, when that particular route is visited, now when the back button of the browser is clicked it will redirect to the root route of the entire application which is localhost:3000/,
<Link href="/blog" replace>
   <a>Navigate to Blog</a>
</Link>
passHref
The Link component of Next always expects you to pass the anchor element to be its child, if you don't provide the anchor Next throws an error message. But in some cases, it might happen that instead of an anchor element you want to pass on some other element as a child to the Link component. That is when you make use of passHref.
<Link href="/blog" passHref>
   <h6>Navigate to Blog</h6>
</Link>
Programatically navigate between pages.
In the previous section, we saw how to navigate different routes through UI by the Link component. But In some cases, we have to navigate programmatically. For example on click of a submit button, a user should be redirected to the form confirmation page. Now how do we achieve it, let's have a look.
import { useRouter } from "next/router";

function Home() {
  const router = useRouter();

  const clickHandler = () => {
    router.push("/blog");
  };

  return <button onClick={clickHandler}>submit</button>;
}
when the button gets clicked, the function inside onClick gets invoked. And the invoked function has a router.push("/blog") method with a route name as a parameter, which makes the navigation possible.
Creating a custom 404 page.
Whenever a user tries to visit a URL that does not exist the browser throws and 404 error message.
That 404 message is generated by the browser and it changes from browser to browser.
In Next whenever a user tries to visit a route that is not defined in the pages folder, Next automatically will render a 404 page. What Next also provides is a way to edit the 404 page, or in other words, we can create our own custom 404 page with Next.
To create a 404 page, next comes with a predefined file naming convention and that is 404.js, and we only can create this file inside the pages folder.
// pages/404.js
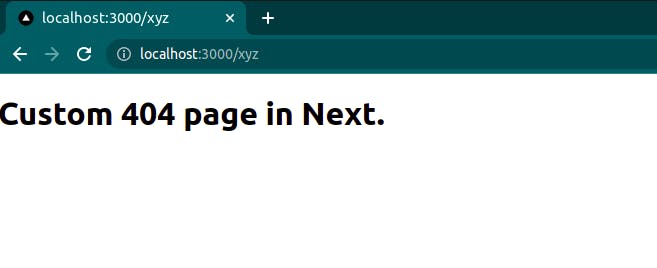
function FourZeroFour() {
return <h1>Custom 404 page in Next.</h1>;
}
export default FourZeroFour;
Now from the browser when u visit any invalid route our customer 404 page will be rendered.
So, here we complete all the topics related to routing in Next.js, I hope you guys have enjoyed it.
Here is the Link to the first part of this particular article.
I hope this was helpful, You can follow me on Twitter and LinkedIn if you like, Ciao!